Welcome to the JeepSpecs.com showcase of the WK Generation Jeep Grand Cherokee Mopar underhood light. Have any other recommendations? Please get in touch with us and tell us about it!
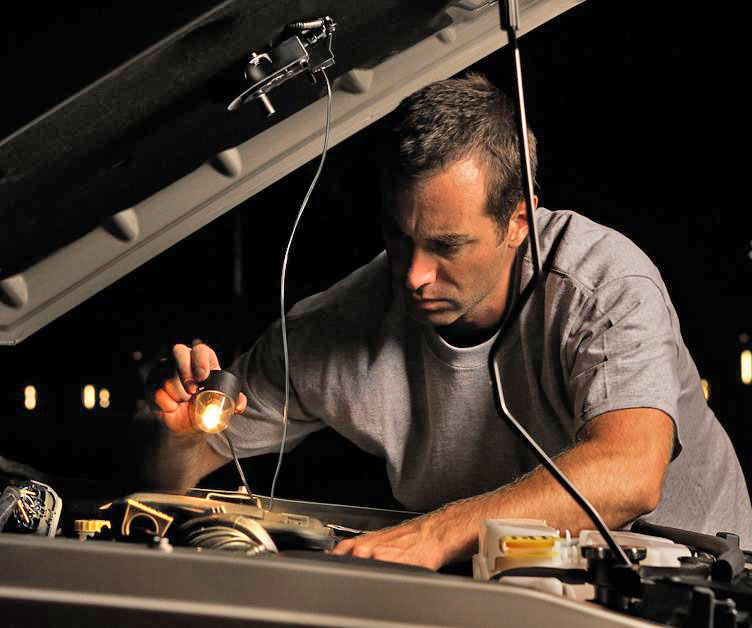
Mopar’s underhood light mounts under the hood and features a 30 foot (7.5m) retractable extension cord. The back of the light fixture has a magnet mounted on it for easy, no hands lighting. Works great for checking fluids or changing a flat tire. When you’re done, simply crank the handle to retract the cord back into the housing. Underhood utility light, features light with 30′ retractable cord. Light has magnetic mount for use within 30 feet of the vehicle.
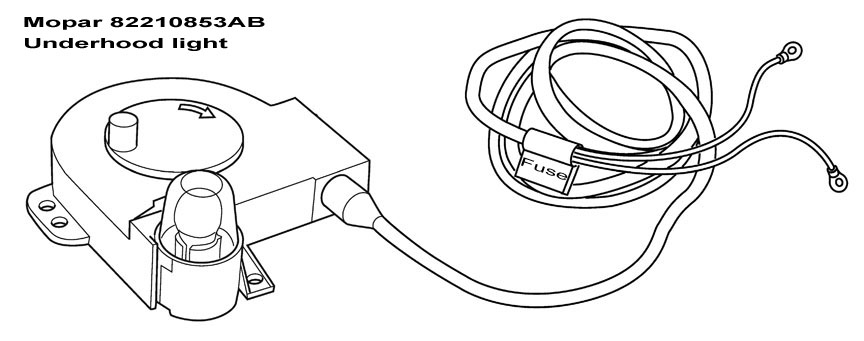
| Underhood lamp kit (with bulb) | Part number: 82210853AB | List price: $82.25 |
Underhood light installation instructions (PDF)
Mopar underhood light – Grand Cherokee
Installation tips (Grand Cherokee)
1. The supplied self-tapping mounting screws are too short (3/4″). I used 1″ sheet metal screws instead, drilling a 3/32″ pilot holes. Drill slowly and carefully so as to not drill past the outer layer and into the hood. There is about a 1″ area between the outer layer and the hood so you there is plenty of extra room.
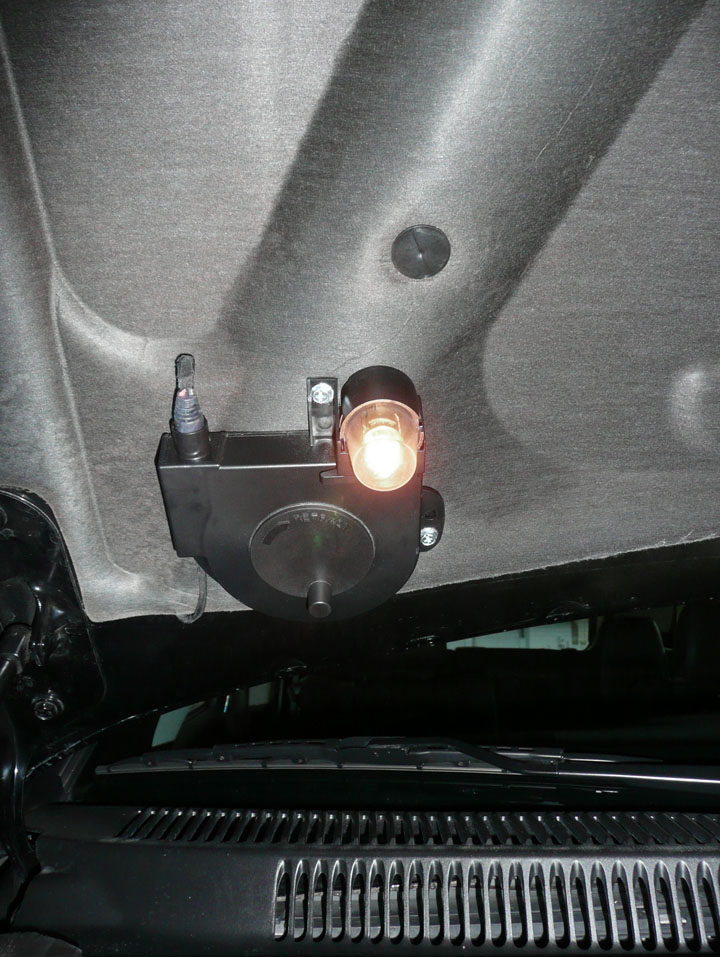
2. The supplied template positions the light assembly too low. I discarded the template and mounted the light so that the screw locations were all on the protruding part of the hood (see image above). The bottom of the lamp is even with the bottom of the hood insulation.
3. Several of the hood insulation plastic fasteners have to removed in order to feed the wire harness across the hood. New fasteners are supplied with the light kit. Be careful when removing the existing fasteners, the hood insulations dents and scratches easily. If you do not have a fastener removal tool you can carefully pry under the fasteners with a wide blade screwdriver and then use a pair of plyers to grab the outside of the fastener ring and slowly work/pull the fastener out.
4. The instructions call for cutting slits in the hood insulation to run the wiring from the lamp over to the battery. I simply ran the wiring below the lamp assembly and underneath the bottom edge of the insulation, and from there up and over the left side of the lamp and across the middle of the hood and down to the driver’s side corner, and then to the battery.
5. Remove the fuse from the lamp harness before hooking up the power and ground wires. Reinsert the fuse and check operation of hood lamp.
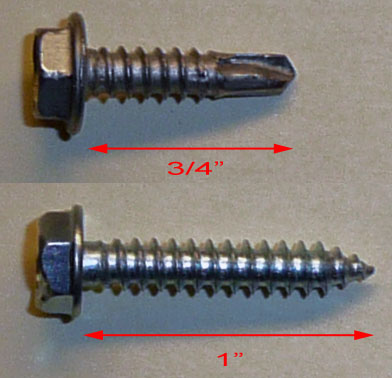
Mounting screws